One of my favorite blogs is celebrating their 2 year blogiversary and I am celebrating with them.
Craftaholics Anonymous is having giveaways all week so go check it out.
The first giveaway is for a $35 Gift card to Bella Michele. Go check out her shop. She makes custom jewelry.
The second giveaway is for an $85 GC to Blush Envy, a very cute shop that helps you accessorize.

Monday, August 15, 2011
Monday, August 8, 2011
DIY: Cute clothespin Magnets
This is super cheap. The only thing I had to buy was magnet strips which cost 79 cents at JoAnn and if you don't have clothes pins, they are only $1 or so.
Supplies:

-Patterned Paper
-Glue
-Scissors
-Magnet strips
-Clothes pins
-Paint brush
-Pencil
Step 1:

Cut magnet strip to fit pin
Step 2:

Attach magnet to pin- The ones I got had adhesive, but a glue gun will work too.
Step 3:

Trace pin onto paper and cut out
Step 4:

Glue paper on to side of pin that doesn't have magnet using glue and brush. Wait for it to dry and put a coat of glue on top of paper to seal.
Enjoy!


Now that summer is almost over...
I have a shelf in my kitchen that gets changed up with every season and holiday. Lately, it's been sporting the July decor since I am low on August decor. Actually there are quite a few months that I have nothing to display so I came up with the idea to make a wood sign the simply states the season we are enjoying. I finally finished my first one- SUMMER.


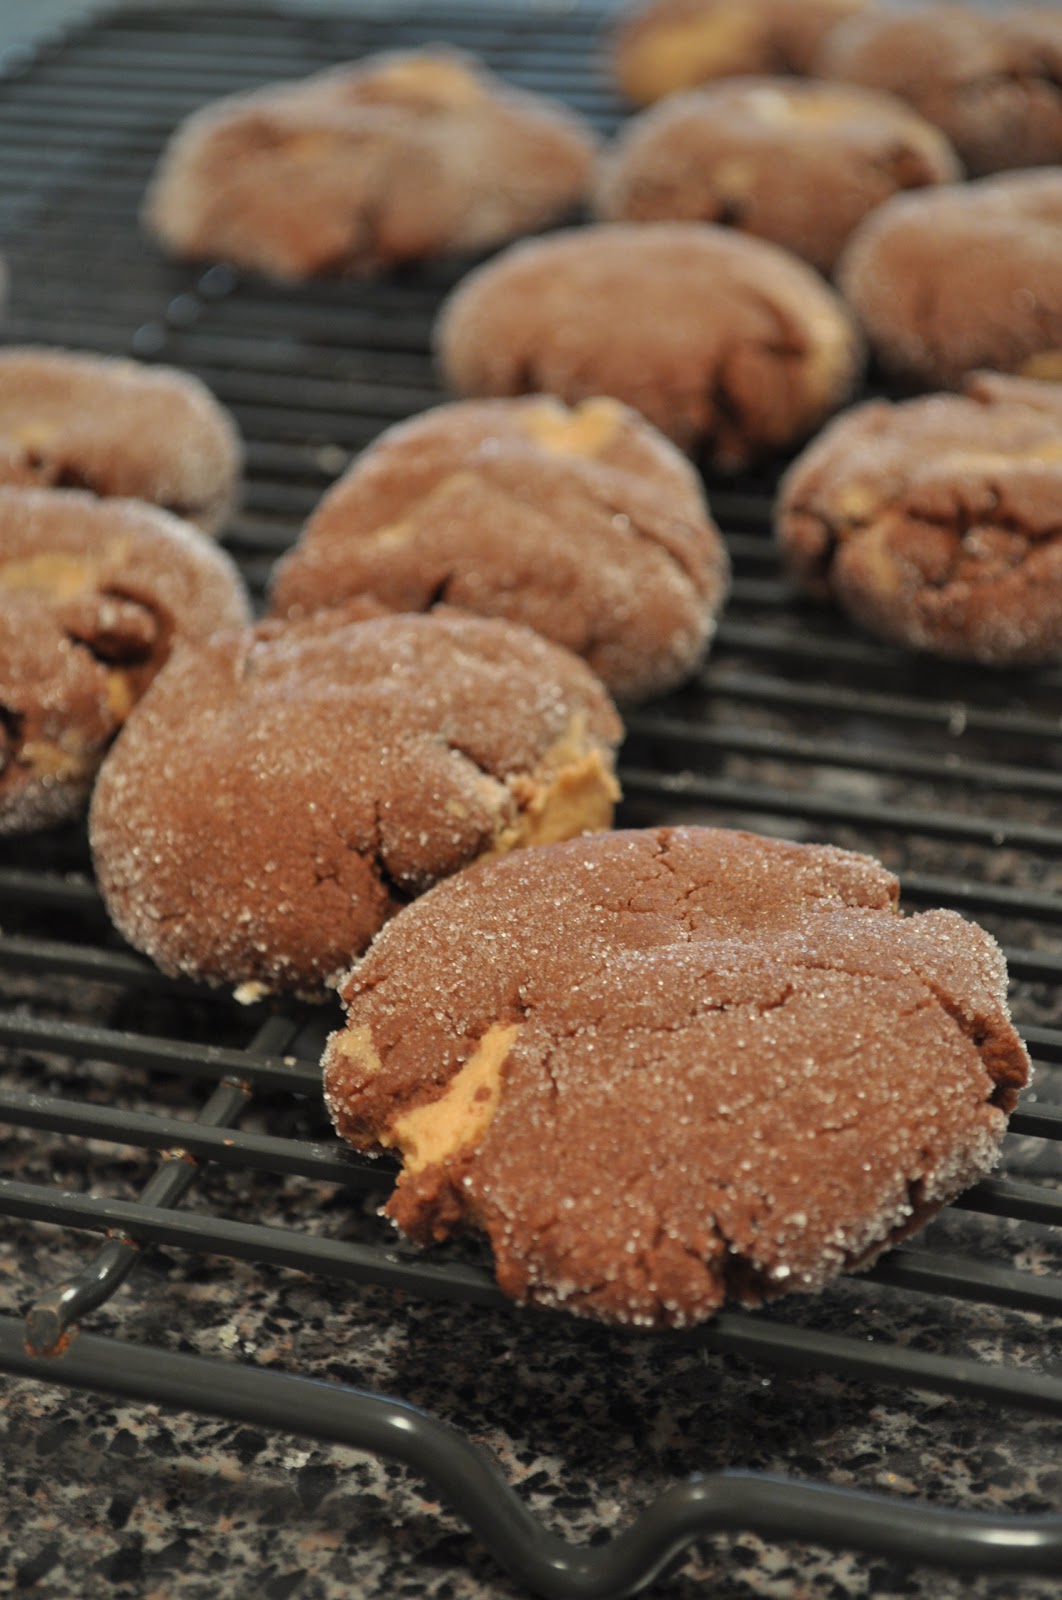
Cookie recipe #1: Chocolate Peanut Butter Surprise Cookies
My babies will be turning 1 and 2 in November so I thought I'd get started on party planning. I am planning a Milk and Cookies party so I need to start trying out cookie recipes. This is my first one and I'm sorry to say it will not be getting an invitation.
The cookies are yummy and I really have to force myself to stop thinking about them so I don't eat them all in one day but they were a little frustrating to put together. We were fine until assembly. Hubby and I did it together and we both really struggled with getting the PB filling completely enclosed in the chocolate dough since it was a bit crumbly (maybe our fault and not the recipe) and therefore hard to mold which is exactly what you have to do. We have a few ugly cookies but overall they turned out fine.
 The only reason I won't make them for the party will be to reduce stress. Maybe another time, Cookie.
And the recipe was found at Pennies on a Platter via Pinterest.
The cookies are yummy and I really have to force myself to stop thinking about them so I don't eat them all in one day but they were a little frustrating to put together. We were fine until assembly. Hubby and I did it together and we both really struggled with getting the PB filling completely enclosed in the chocolate dough since it was a bit crumbly (maybe our fault and not the recipe) and therefore hard to mold which is exactly what you have to do. We have a few ugly cookies but overall they turned out fine.
And the recipe was found at Pennies on a Platter via Pinterest.
Yield: 2-3 dozen cookies
1½ cups all-purpose flour
½ cup unsweetened cocoa
½ tsp baking soda
¼ tsp salt
½ cup granulated sugar (plus more for dipping)
½ cup packed brown sugar
½ cup unsalted butter, softened
1 cup creamy peanut butter, divided
1 tsp vanilla extract
1 egg
¾ cup powdered sugar
½ cup unsweetened cocoa
½ tsp baking soda
¼ tsp salt
½ cup granulated sugar (plus more for dipping)
½ cup packed brown sugar
½ cup unsalted butter, softened
1 cup creamy peanut butter, divided
1 tsp vanilla extract
1 egg
¾ cup powdered sugar
Preheat oven to 375˚F.
Stir together the flour, cocoa, baking soda and salt. Set aside.
In a large mixing bowl fitted with the paddle attachment, beat the sugar, butter and 1/4 cup of the peanut butter until light and smooth. Add in the vanilla and egg, beating one at a time to combine. Gradually stir in the flour mixture. Set dough aside.
To make the filling, cream together the powdered sugar and remaining 3/4 cup of peanut butter until smooth.
To assemble the cookies, spoon a generous tablespoon of chocolate cookie dough and flatten into a circle with your hands. Scoop a small amount of peanut butter filling mixture and place in the center of the chocolate dough. Wrap the chocolate dough around the peanut butter filling, pinching ends together to seal. Roll the cookie in between hands to smooth into a ball. Roll into a bowl of sugar and place on the cookie sheet.
Use the bottom of a glass to slightly flatten the cookies. Bake for 7 to 9 minutes. Do not over bake. Let cool on wire rack.
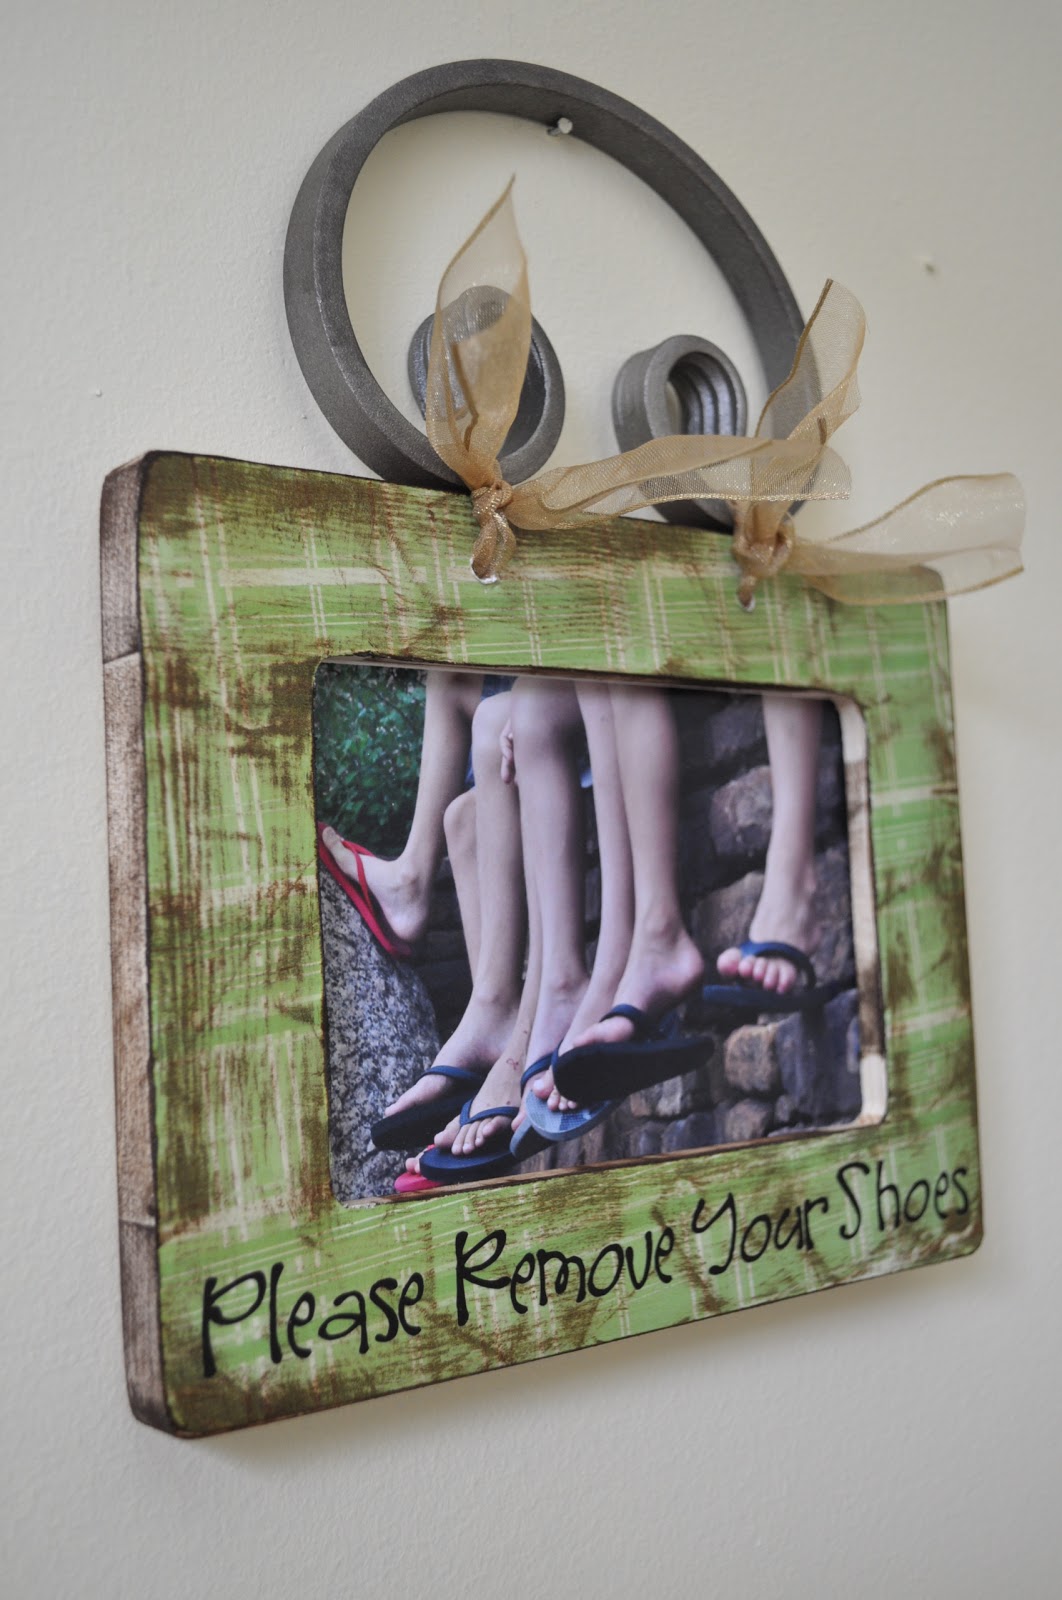
A fun way to keep your carpets clean
This project has been on my list for years or maybe just 1 year but a long time nonetheless. I finally got to it and I LOVE how it turned out. Find the tutorial here.
 What I did differently:
-Well, I didn't spray paint my handle which I planned on. I just don't have the paint and didn't want to make a trip. Hubby liked it this way so I took his advice and left it. But I might still do it. I'm thinking brown.
-Also, I didn't have stain. Another thing I'd have to run to the store for but I did have a distressed ink pad so I just used that. It turned out just fine that way, I think.
And there you have it!
Tuesday, August 2, 2011
Magnet boards- not as easy as it seems
My mom got a really cute magnet board for Christmas one year from my sister. She hangs it in the kitchen and puts pictures of the grandkids on it. My sister actually made the magnet board at a Super Saturday activity the church put on so when Christmas rolled around one year and I had decided I wanted to start making my gifts, I remembered the magnet board and thought, "it can't be that hard." Right? Not for me.

This is my mom's magnet board, or a portion of it at least. Living so far away, I called and asked my brother to take a photo and send it to me so I could have a reference. This is what I got. Helpful. Anyway, I knew what it looked like but it's so much easier to copy something when you can examine it and turn it in your hands.
I bought some wood that was just the right size so no cutting needed and since I was making 2, I bought one sheet of metal to cut in half. I borrowed some metal cutting shears, went down to the garage, and stood there staring. I don't know how long I was down there but nothing got accomplished. The cutting ended up being done by my hubby who also had no clue but at least the guts to try. It didn't turn out the way I visualized because the shears did not leave a clean edge. Oh well.
I bought some wood that was just the right size so no cutting needed and since I was making 2, I bought one sheet of metal to cut in half. I borrowed some metal cutting shears, went down to the garage, and stood there staring. I don't know how long I was down there but nothing got accomplished. The cutting ended up being done by my hubby who also had no clue but at least the guts to try. It didn't turn out the way I visualized because the shears did not leave a clean edge. Oh well.
Let's just set the metal aside for a moment and focus on the wood. So, I had no power sander but I didn't need one cuz I had sand paper. What I didn't have was time. I wanted a rounded edge. I settled for a less pointy one.
Metal is cut, wood is sanded and I have also painted. Now it's time to put the two together. I don't know where I came up with this idea, but figure I could nail the metal on. This was also done by the hubby. Although, it was not such a successful process and we stopped after the first magnet board was done.
All this happened throughout the summer months before Christmas. But the boards just sat there, untouched for the fall months, that is until my mom came to visit in the beginning of December. She really saved the day on this one. Apparently, my mom has made these before. Why was I trying to fly solo when I had her knowledge just a phone call away? We bought some caulk and glued the other metal on to the board. Piece of cake! Completed only days before they need to be shipped. Thank heaven for moms!
And I was so flustered I never took a picture.
I am not going to leave you with THAT as a How To on Magnet Boards though. Here are some that I found that I think will give you a variety of ideas. I guess it's not that hard if you don't over think it.
Peas in a Pod came up with a REALLY easy way to make it cute using a cookie sheet.

The Polkadot Chair has a great one that uses bead board for the frame and gives it a country look.

A Little of This, A Little of That covers theirs with fabric and also shows you how to make your magnets.

Yeah, Write puts a border on theirs and hangs it with a ribbon. Don't overlook the wire baskets. Genius!

And I must include Little Birdie Secrets because they cover everything on their site, like this magnet board that you put in a frame and you're done. How easy is that?

Good luck with your magnet board. Maybe I will make one again, someday.
Crochet
A couple years ago I was at the library in the non-fiction section (kind of a fun section, I finally learned) and came across a book on How to Crochet. I decided it was time I learned so I checked it out and stopped by the craft store to pick up the basic supplies, yarn and a hook. It was amazingly easy once I got the hang of the pictures and the first project the listed was a scarf. Here it is!
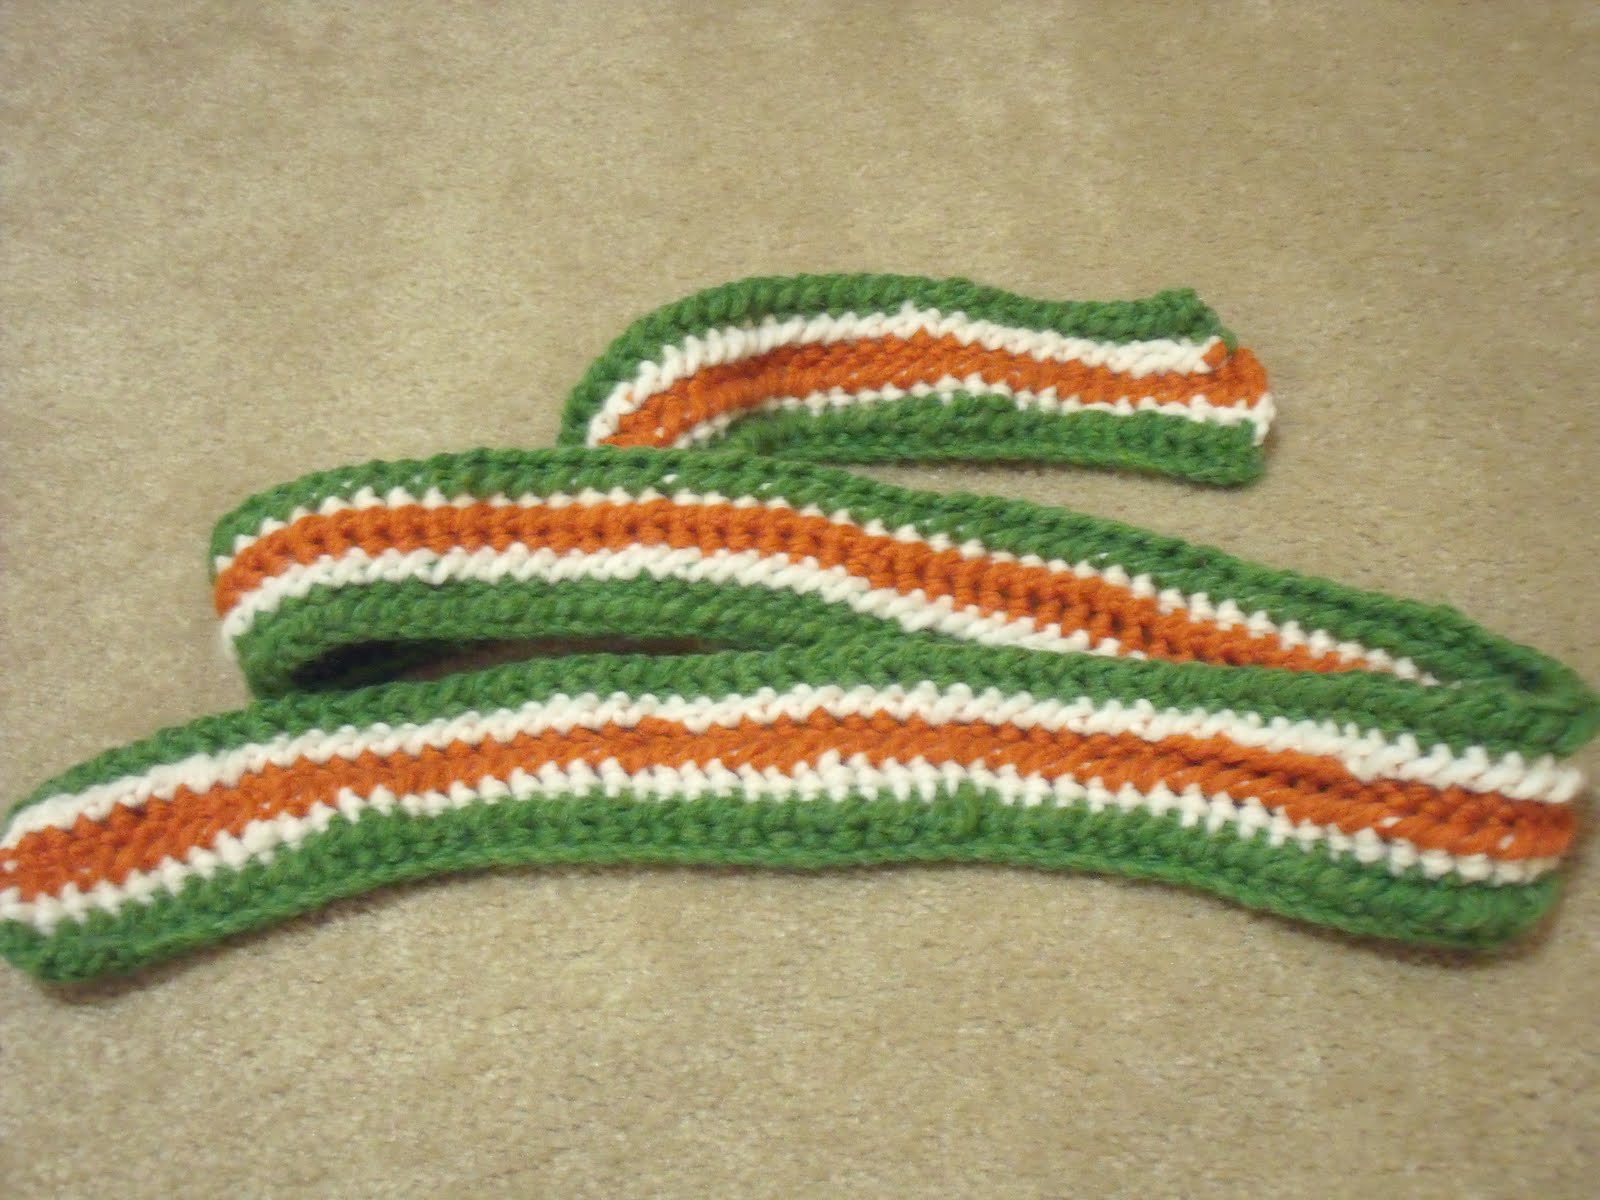
This scarf is the first and last usable thing I've crocheted. The book was due and I returned it but REALLY liked it so a while later I went back to get it. Unfortunately, I forgot the name of it and the library had moved locations and I wonder if they also went through the books and revamped the selection because I cannot find that book anywhere for the life of me! I wish I could because they had a cute hat that matches the scarf. Anyway, I'm rambling. I really enjoyed crocheting but I think it's something I'm going to need to pick up a little later in life when I have a lot more time to focus on learning it without having to consult the book every couple of minutes. Until then, I will enjoy my scarf.
Subscribe to:
Posts (Atom)